
Alexander Shchapov


Starting point of frame selection is motor layout. I don’t know if we can call helicopter a mono (rather bi, since it has tail motor) but beside that selection of number of motors is up to you.
Connection plan from HK
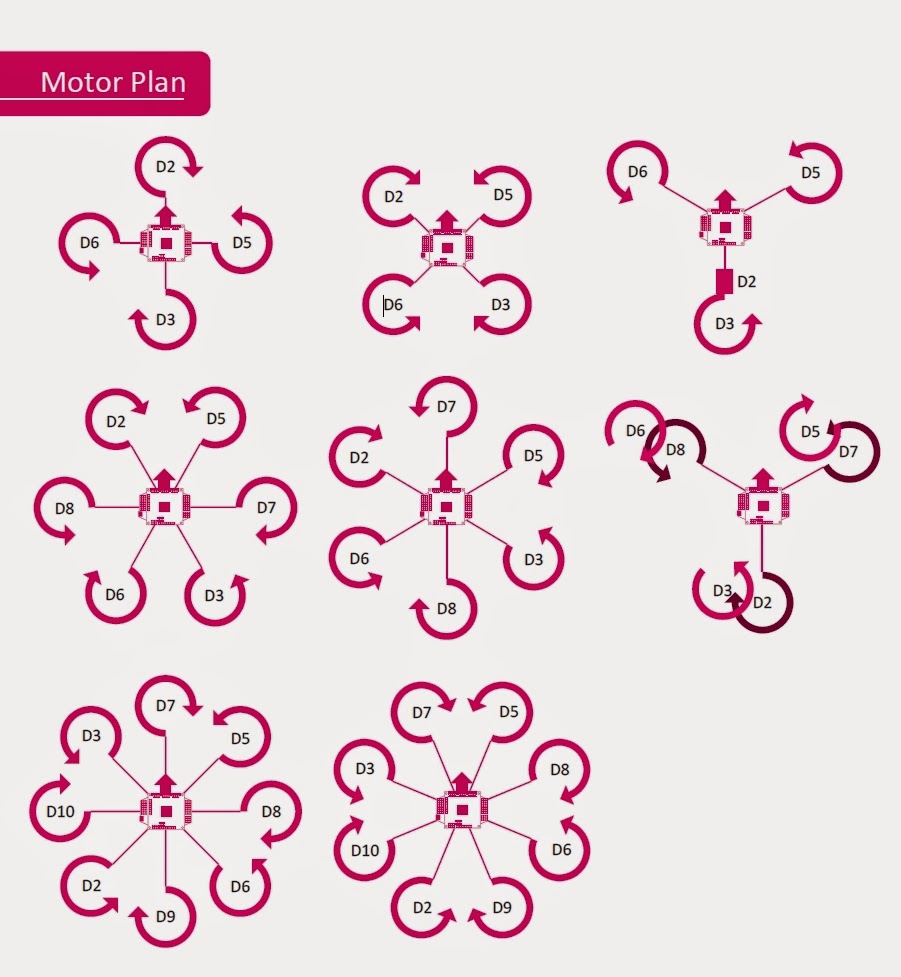
I’ve selected quad as most (I believe) spread and classic option. Also here we can select copter scheme, as you can see on first two pics, one is called “+”, another “X”. I think, it worth trying both in order to understand the difference.
In fact frame can be built manually from two aluminium (or else) pieces and it won’t lack much. Even more, in case if you experience copter crash it does not take additional expenses to fix it).
Second option is to buy a frame kit, which has everything you need. Here you have a wide variety of choices, starting from simple X frames ending up with multilevel frames which look like scorpions, for example. Some models have more useful features like power distribution board which helps to avoid mess of wires (remember, that we need to power four ESCs form one battery).
HJ450 Frame with power distribution board built-in
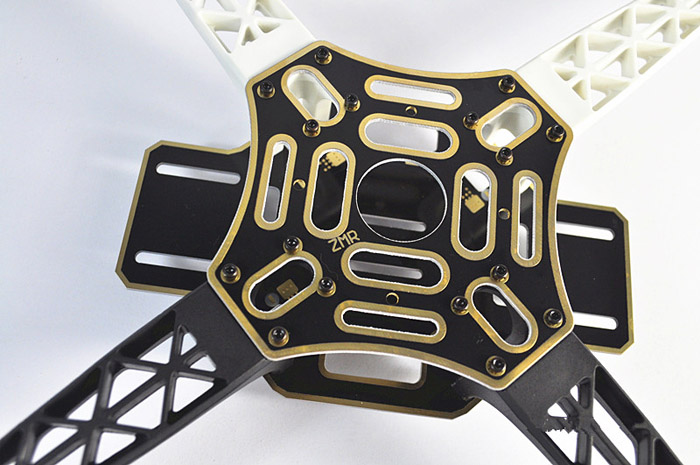
To summarize: the hard way is to build frame yourself. The easy way is to select ready to build frame kit. I selected second option with a simple frame, X550.
It was not easy to assemble the frame being guided by manual in Chinese with twice scanned black-and-white figures. Well, it is easy to imagine how it should look like, but when you have extra screws left after a complete assembly, you understand that you did something wrong.
Before
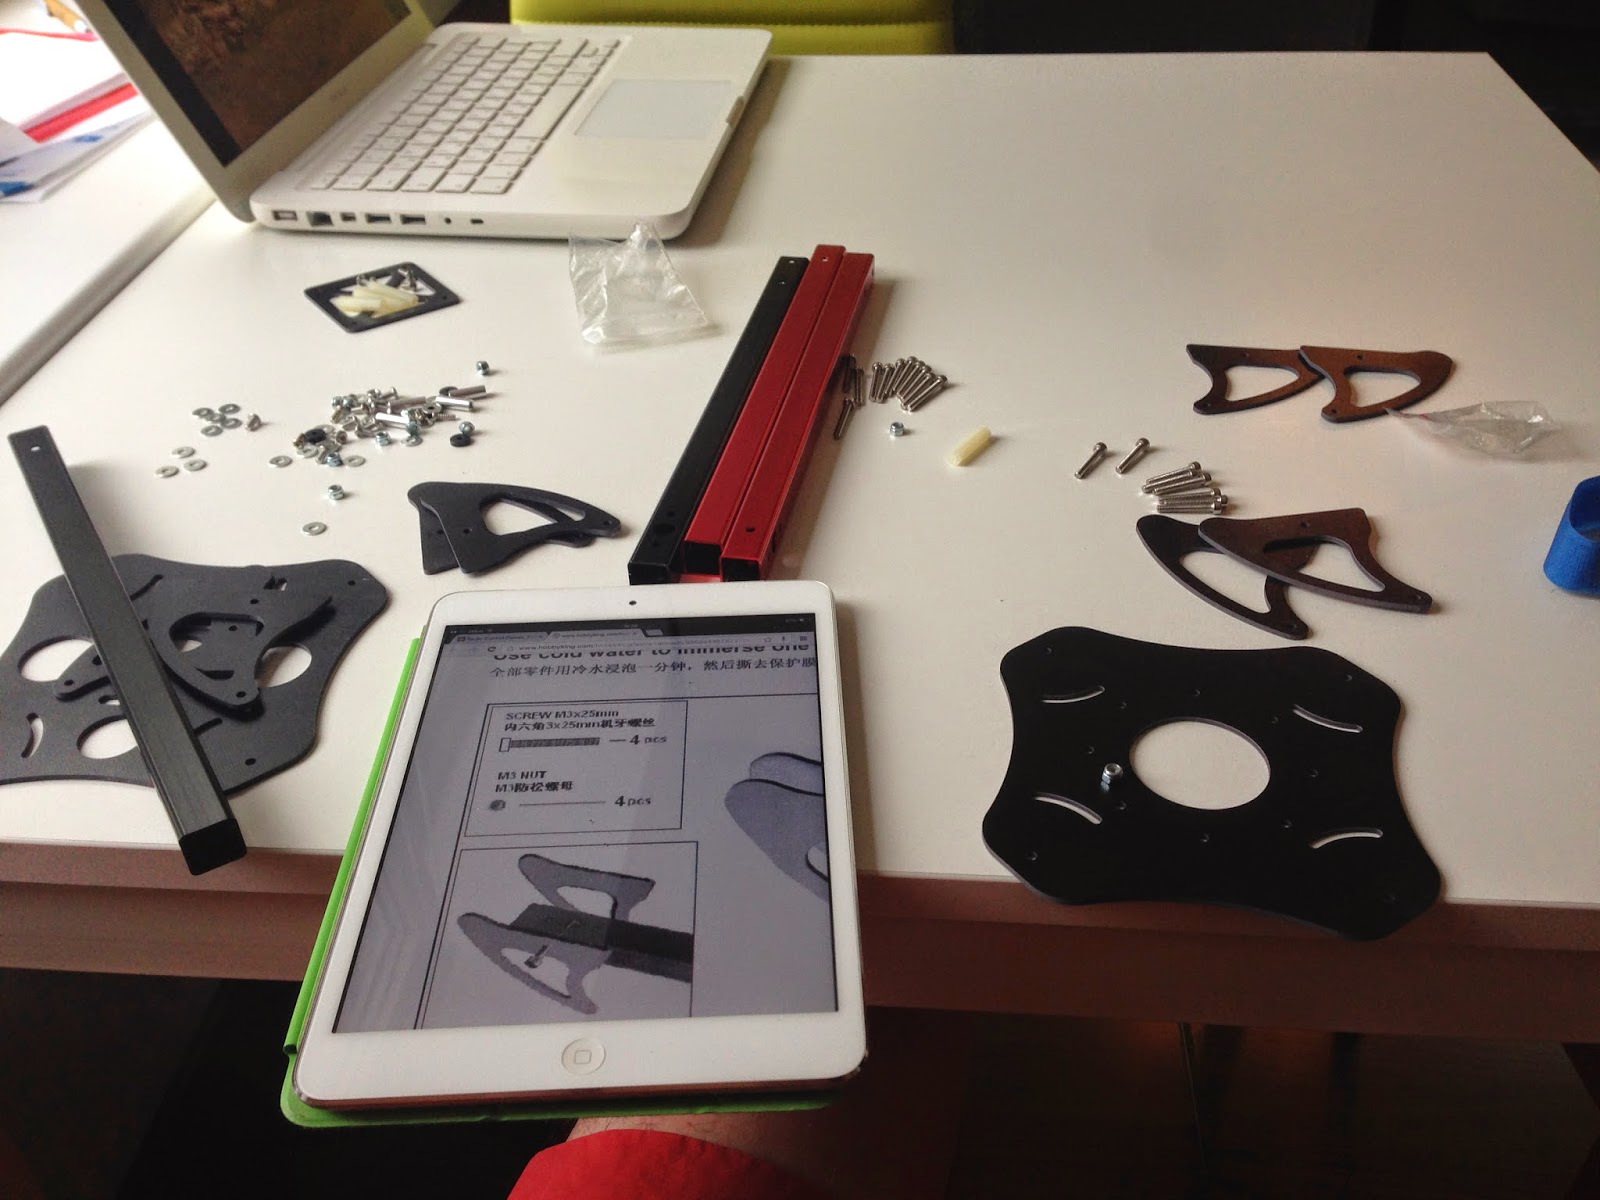
After

The next step is to solder up motors, ESCs and power connections.