
Alexander Shchapov


As you probably heard we’ve moved to Thailand. Good news is that I took quadcopter with me. Reasoning is simple: we have summer here all year around, while in Europe it is winter / no-flights season.
Almost everything went smoothly with transportation: I got no security questions regarding disassembled copter parts in checked in baggage. It is well known fact that LiPo batteries are not allowed for air transportation due to safety reasons, so that I need to buy those here. I also took with me minimalist’s basic tool-set for assembly.
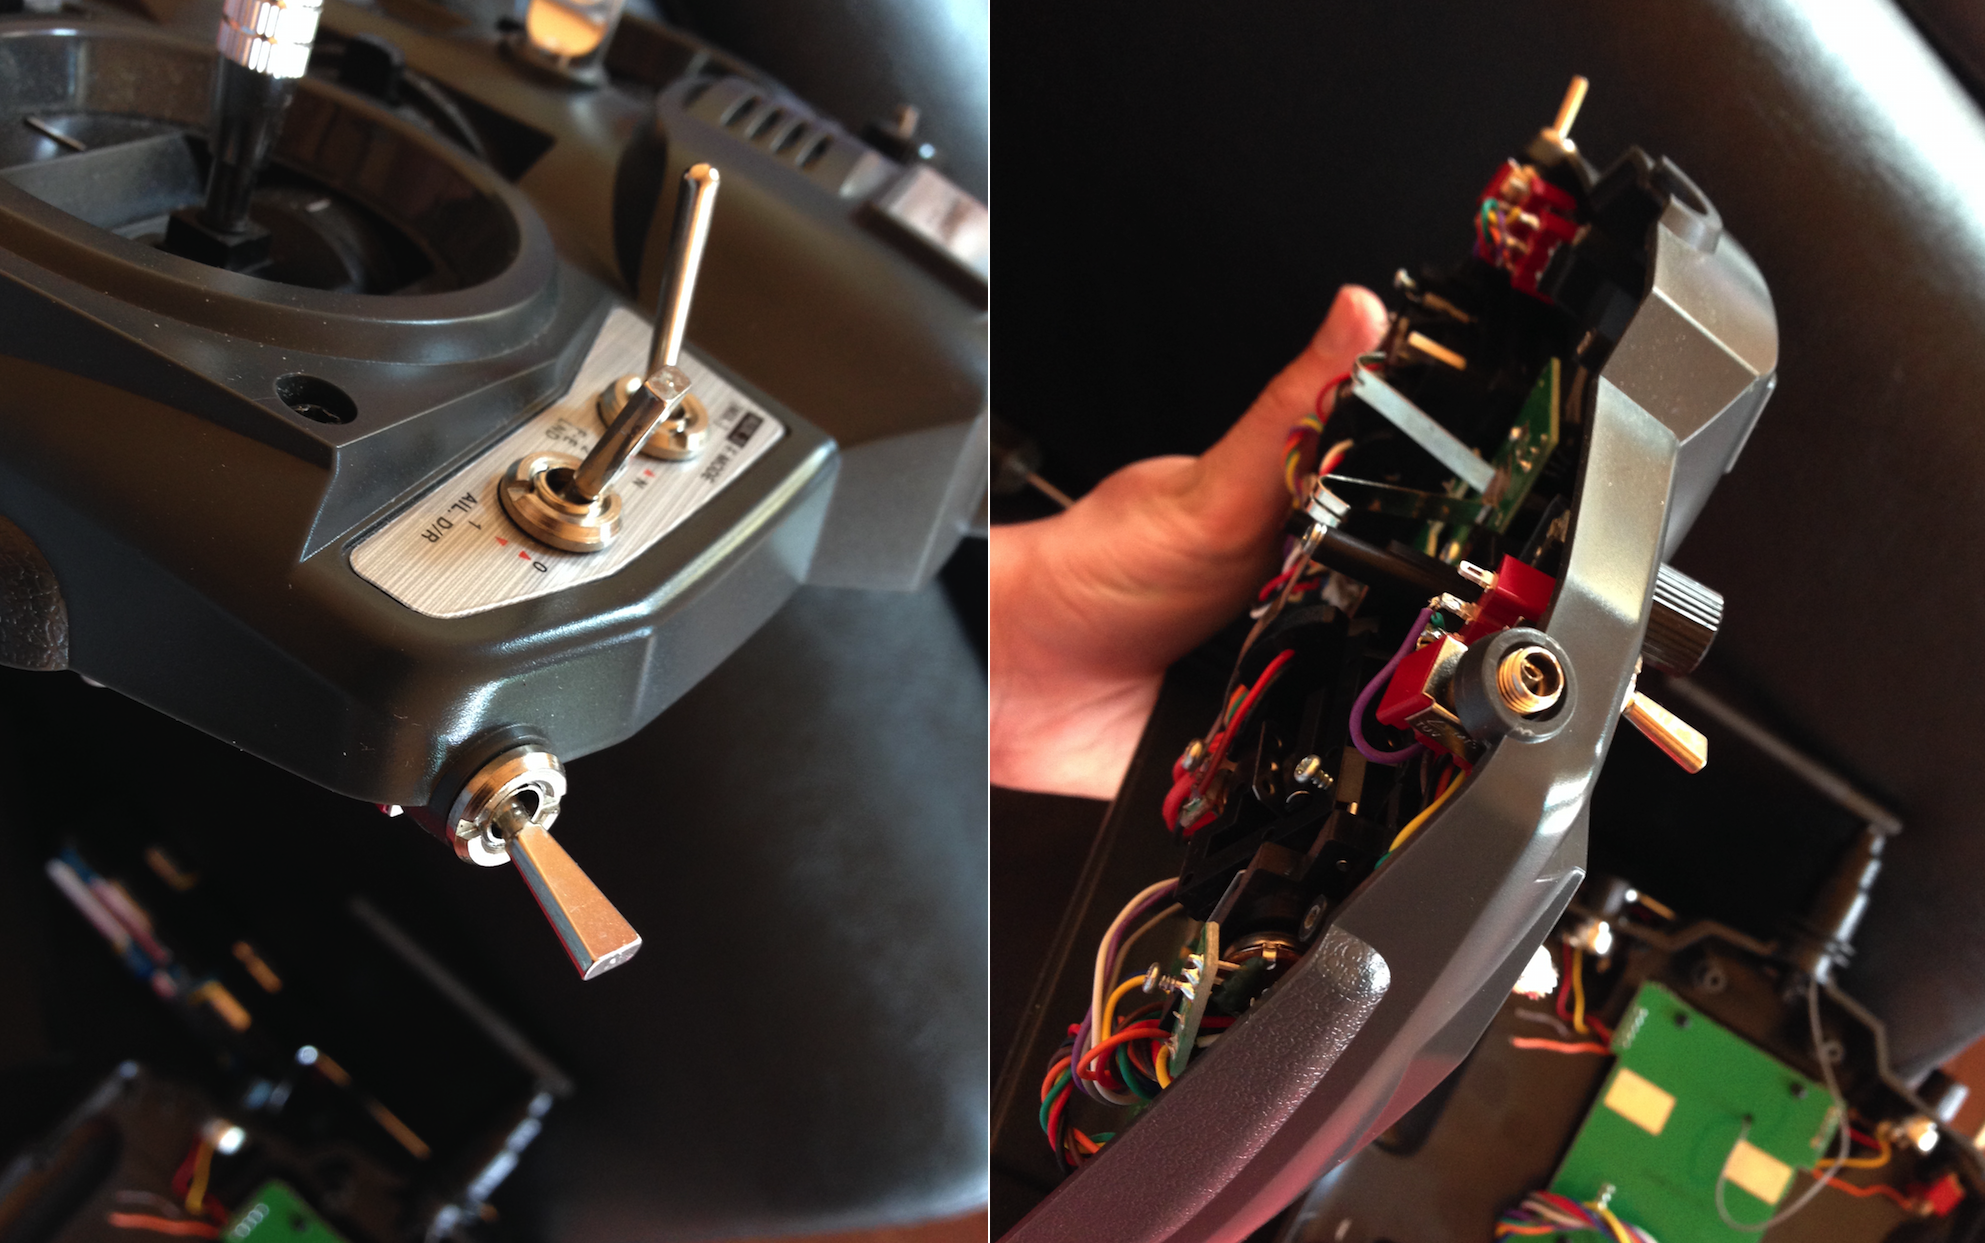
I said “almost” because one thing got broken: two Turnigy 9X transmitter’s switches. To be honest, I don’t know how to pack transmitter properly – it has so many switches directed in all ways! The result is sad. Picture below shows opposite sides of transmitter: on the left is one which is good, on the right is one which is broken:
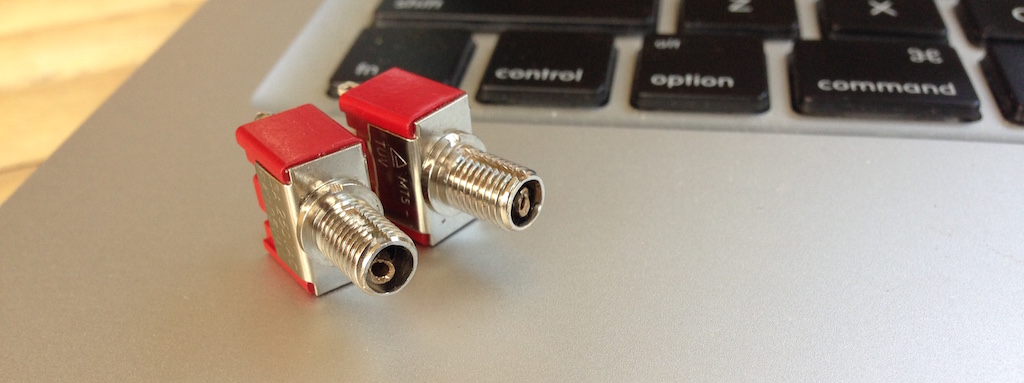
Unmounted broken switches:
It would be not that bad if transmitter is still worked, but it is not. It requires all switches to be in “off” state while turning on. Broken switches somehow produce “on” state which results in SWITCH ERROR message on a screen. You can go no further this message in your use of transmitter in mentioned state.
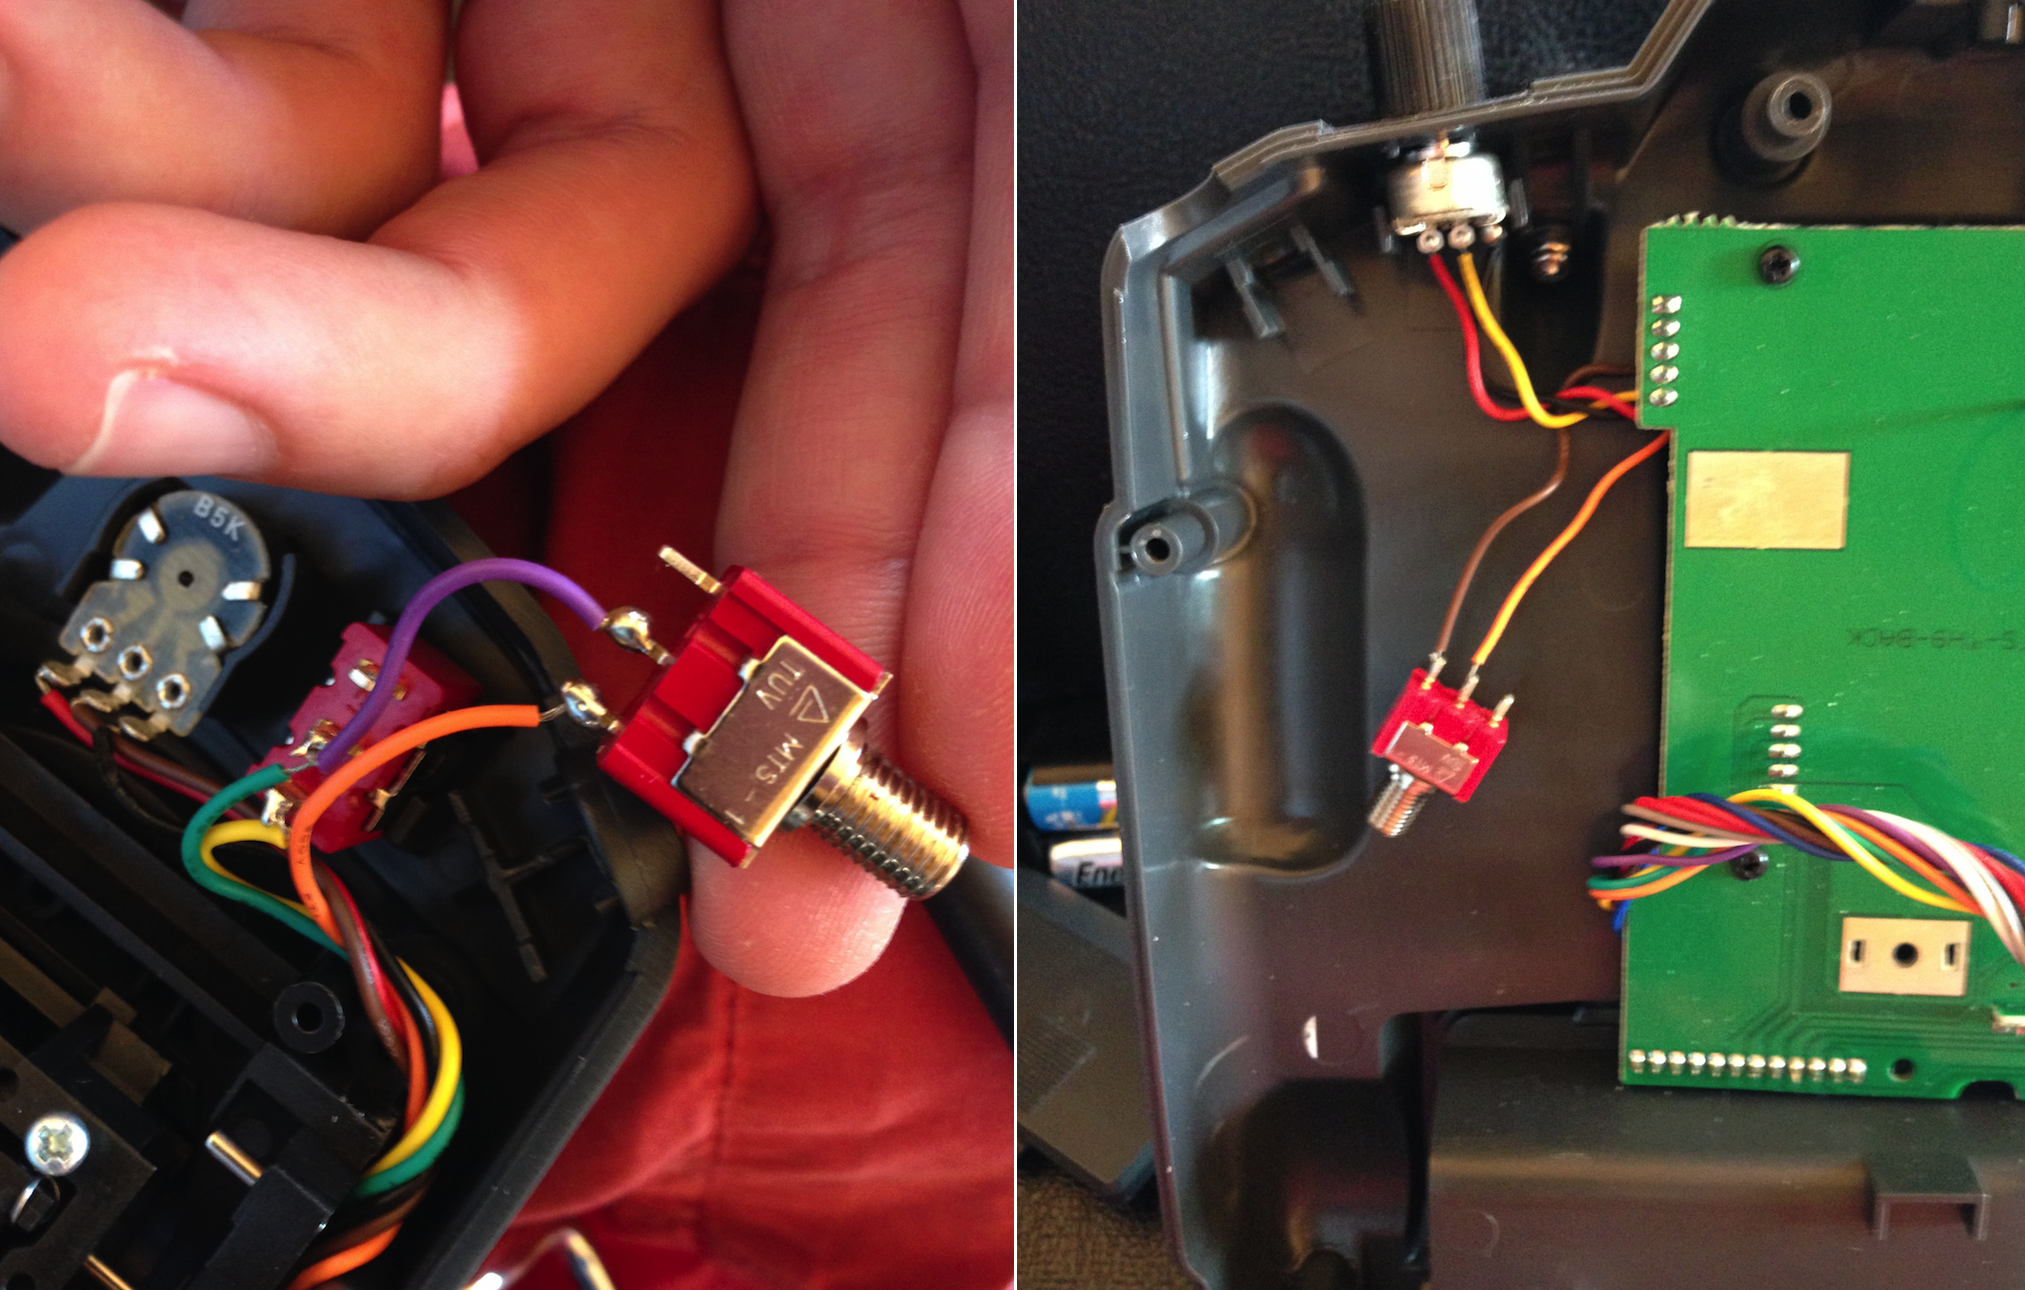
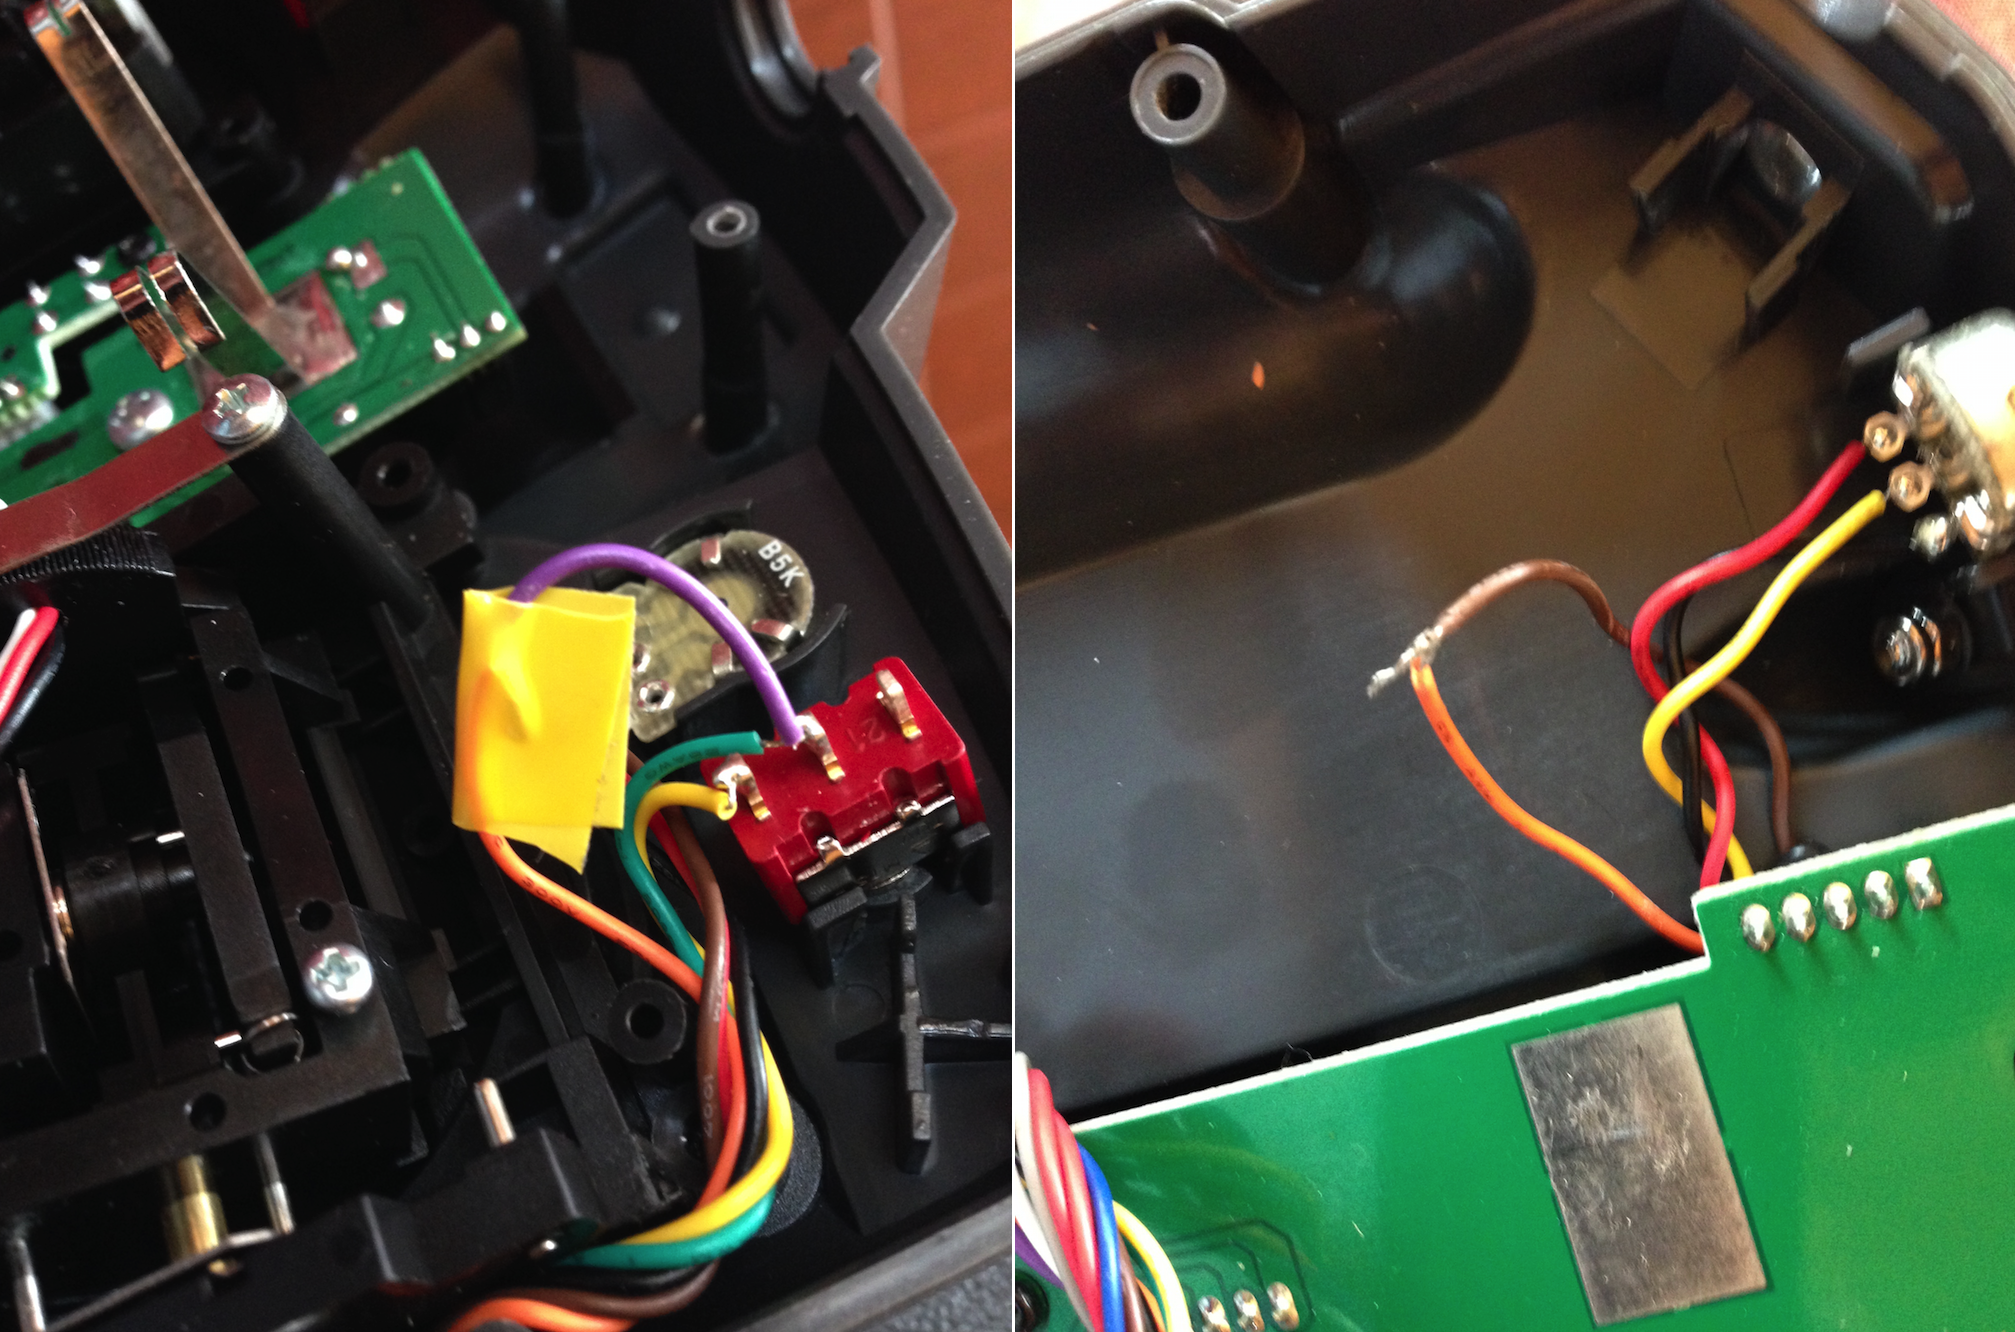
I believe it is easy to find a replacement, but as temporary solution we want transmitter to be alive right now. The solution is brutal and as simple as removing broken switches and short circuiting corresponding connections, so that new state is fixed “off”. This is true for at least for two-position switches of Turnigy 9X.
Note: you do the following modifications to your transmitter at your own risk! I’m not responsible for any damage your actions could cause.
That’s it, we’re good to go!